Are Dual-Perimeter Fences a Legit Strategy?
You don't need an 8-foot fence to keep deer out — just two shorter electric fences placed 3 feet apart. Here's how a dual-perimeter "hot-zone" fence works and how to build one yourself.

A dual-perimeter fence, sometimes referred to as a “hot-zone” fence, is the concept of putting two shorter, electrically-charged fences close together to protect whatever is inside the fence from deer. Most people believe you need something as tall as a 6-8 foot tall fence to prevent deer from jumping over and into whatever it is you’re trying to protect. The reality is, if you strategically place two shorter fences together, you’ll get the same, if not greater, protection. The reason this works is deer have poor depth perception. Have you ever been spotted by a deer and watched as it moved its head from side to side trying to make out what it is seeing? Deer do this to create depth perception and make a better “3D model” of what it’s seeing to help identify if you are a threat or not. With the two layers of fencing, you’ll be creating the illusion that there is so much distance between the two fences that the deer wouldn’t be able to make the jump all the way across or in between the fences. On top of that, because deer feel out everything with their nose first, if they touch the outermost layer of fence, they’ll receive a small shock on their sensitive (and wet!) nose.
Off-The-Shelf vs DIY
There are two ways to go about setting up a dual-perimeter fence and as long as you remember the rules of placement, it ultimately doesn’t matter which way you go. You can buy a commercially available fencing system. Non-Typical Wildlife Solutions makes a hot zone kit. They are expensive for what you get but you don’t need to worry about buying all the individual supplies. The other option is to put together a DIY dual-perimeter fence. This is what I’ll dive into.

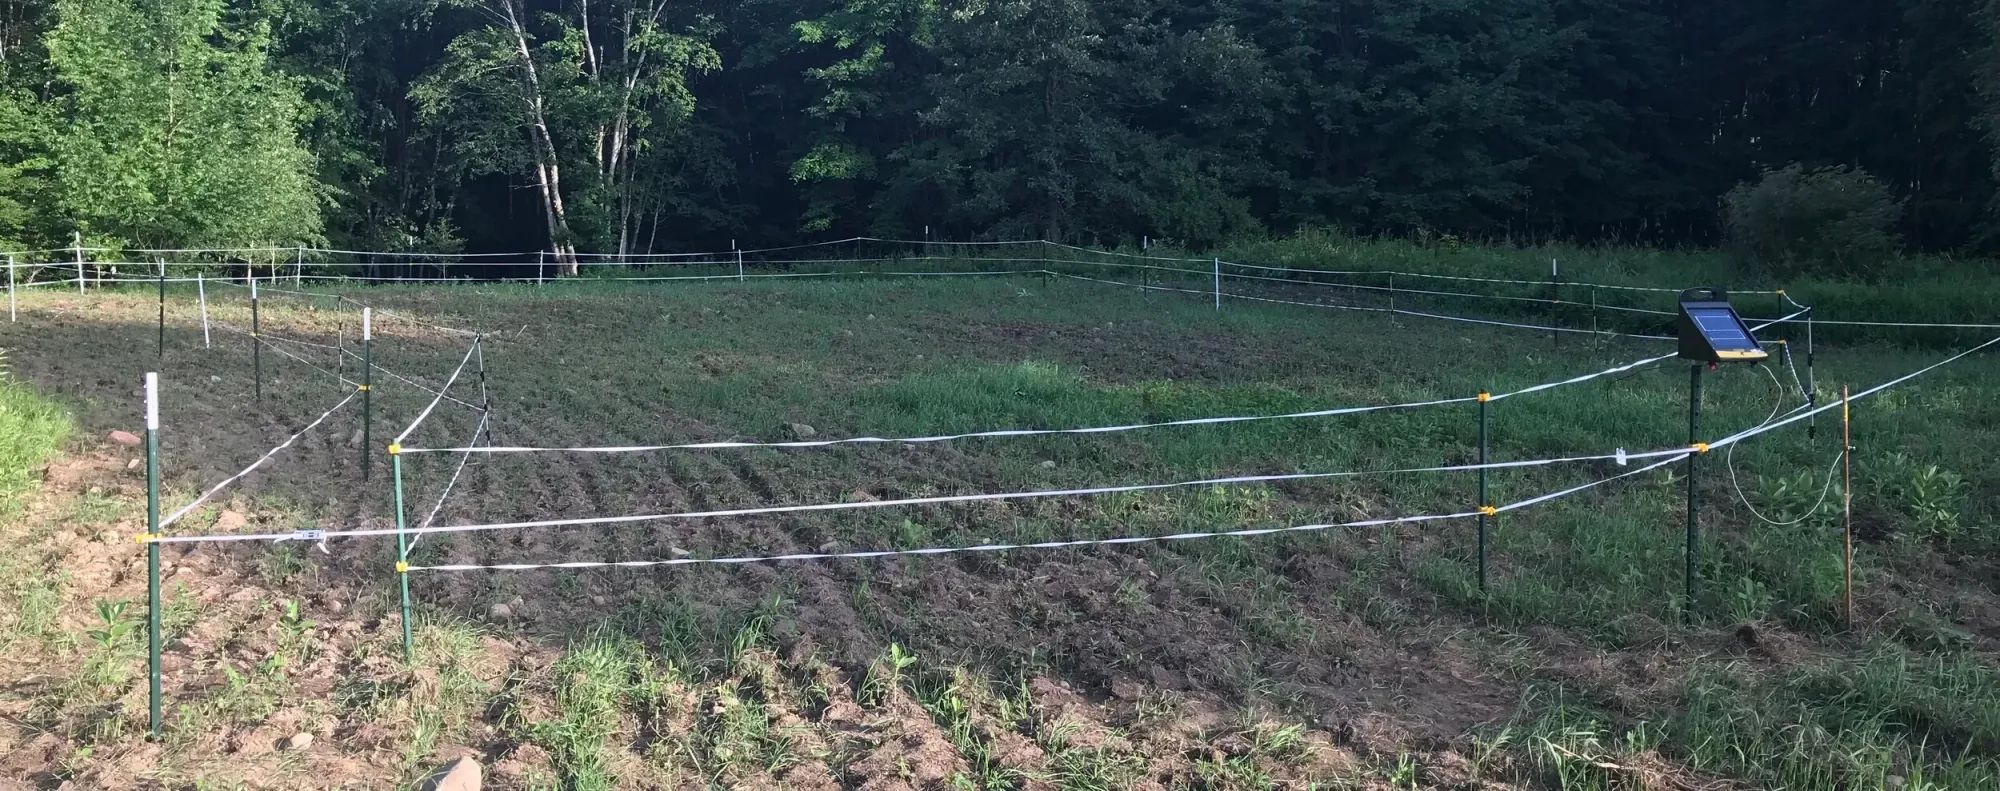
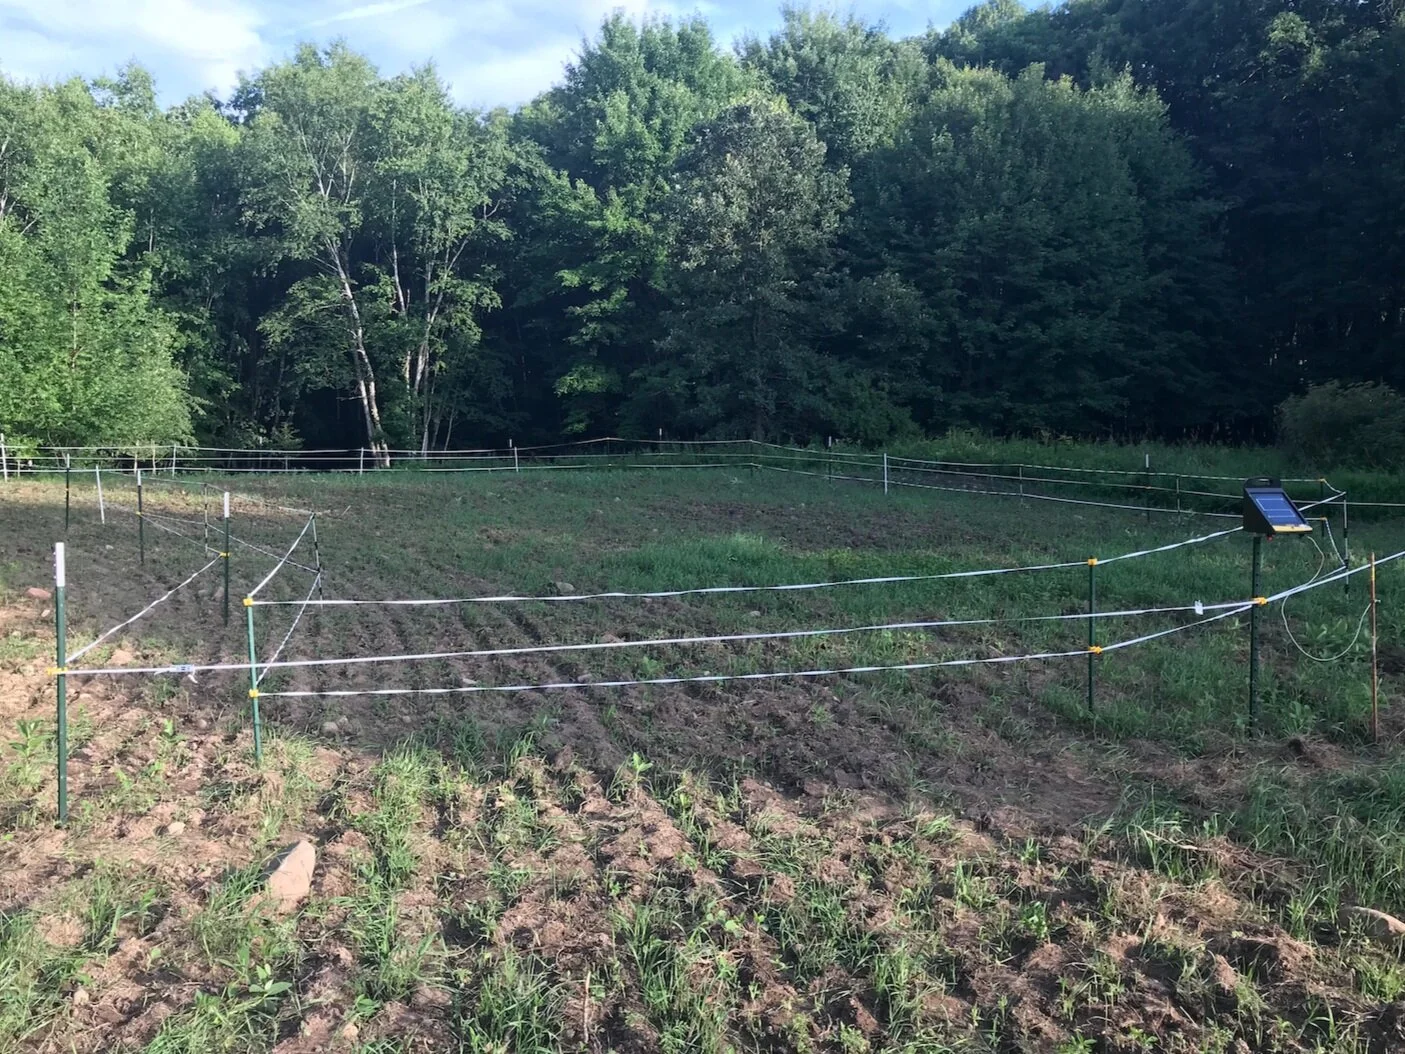
At the most basic level, you’re going to be creating two layers of fencing. These two layers need to be 3 feet apart. Your outermost fence needs to be made with electrical tape, not electrical wire, and set at around a foot a half high. You want to go with an electrical tape because it’s wider, and easier to see. Not only will deer be curious in wanting to nudge this with their nose, if they’re being chased or otherwise running near your fence, you want them to see it so they don’t crash into it. The second layer of fencing, again 3 feet away from your outermost layer, will contain two different heights of electrical tape. Set one at approximately 10-12 inches off the ground (1 foot) and the other at 2 feet off the ground. You can use electrical wire at this layer to save some money but I prefer going with tape just to give it more visibility. I’ve even gone with the higher visibility electrical tape and not charging it. Nine times out of ten, a deer will encounter the first layer, nudge it with its nose, and get a quick painless reminder to back away.
When it comes to selecting fence posts, I tend to go with whatever is cheapest. You can get plastic or fiberglass fence posts that you can easily push in with your feet. These usually run you under $1 a piece and some of them come built with loops at the previously mentioned heights making this a super easy project. The other option is to use metal T-posts in combination with electric fence insulators. I went this route the first year I made a dual-perimeter fence because I had a bunch of T-posts laying around. However I quickly learned that the physical labor of pounding these into the ground, in conjunction with paying for and installing the insulators, dissuaded me from using these in subsequent fencing projects.
The last thing you’ll need is some way to electrically charge the fence. There are a ton of different options and configurations for this but I chose to go with a solar powered electric fence charger with a built-in battery, specifically one made by Zareba, that I picked up from my local farm store. This allowed me to install my fence in a remote location with minimal on-going maintenance.
Designing the layout of your fence
When designing the layout of your fence, keep the following things in mind. First, make sure your fence is not right up against the woods line or tall grass. Even though the fence is electrically charged, it won’t stop a doe that is being chased by a buck from crashing right through it. Give the deer a chance to see it and avoid it. Next, consider making a gate at one end of the fence that you can easily drop or remove. This serves two purposes. One, it will give you an access point should you need to seed or spray your food plot. Second, you can use this fence as a pinch point. If you drop it a couple of days before season, or before favorable weather conditions, deer will discover the now easy and readily available food source and travel in where the fence has been removed. Combine this with a strategically placed stand or blind and the right wind direction, and you’ll have some easy hunting opportunities. Whenever you are designing anything on your property for the purposes of deer hunting, creating and manipulating movement should be your ultimate goal. Make sure you are mowing under and between the fences. The last thing you want to happen is to go through all this effort just to have something touching your fence, shorting the charge, and a deer nose it and not get any feedback.
When to use a dual-perimeter fence
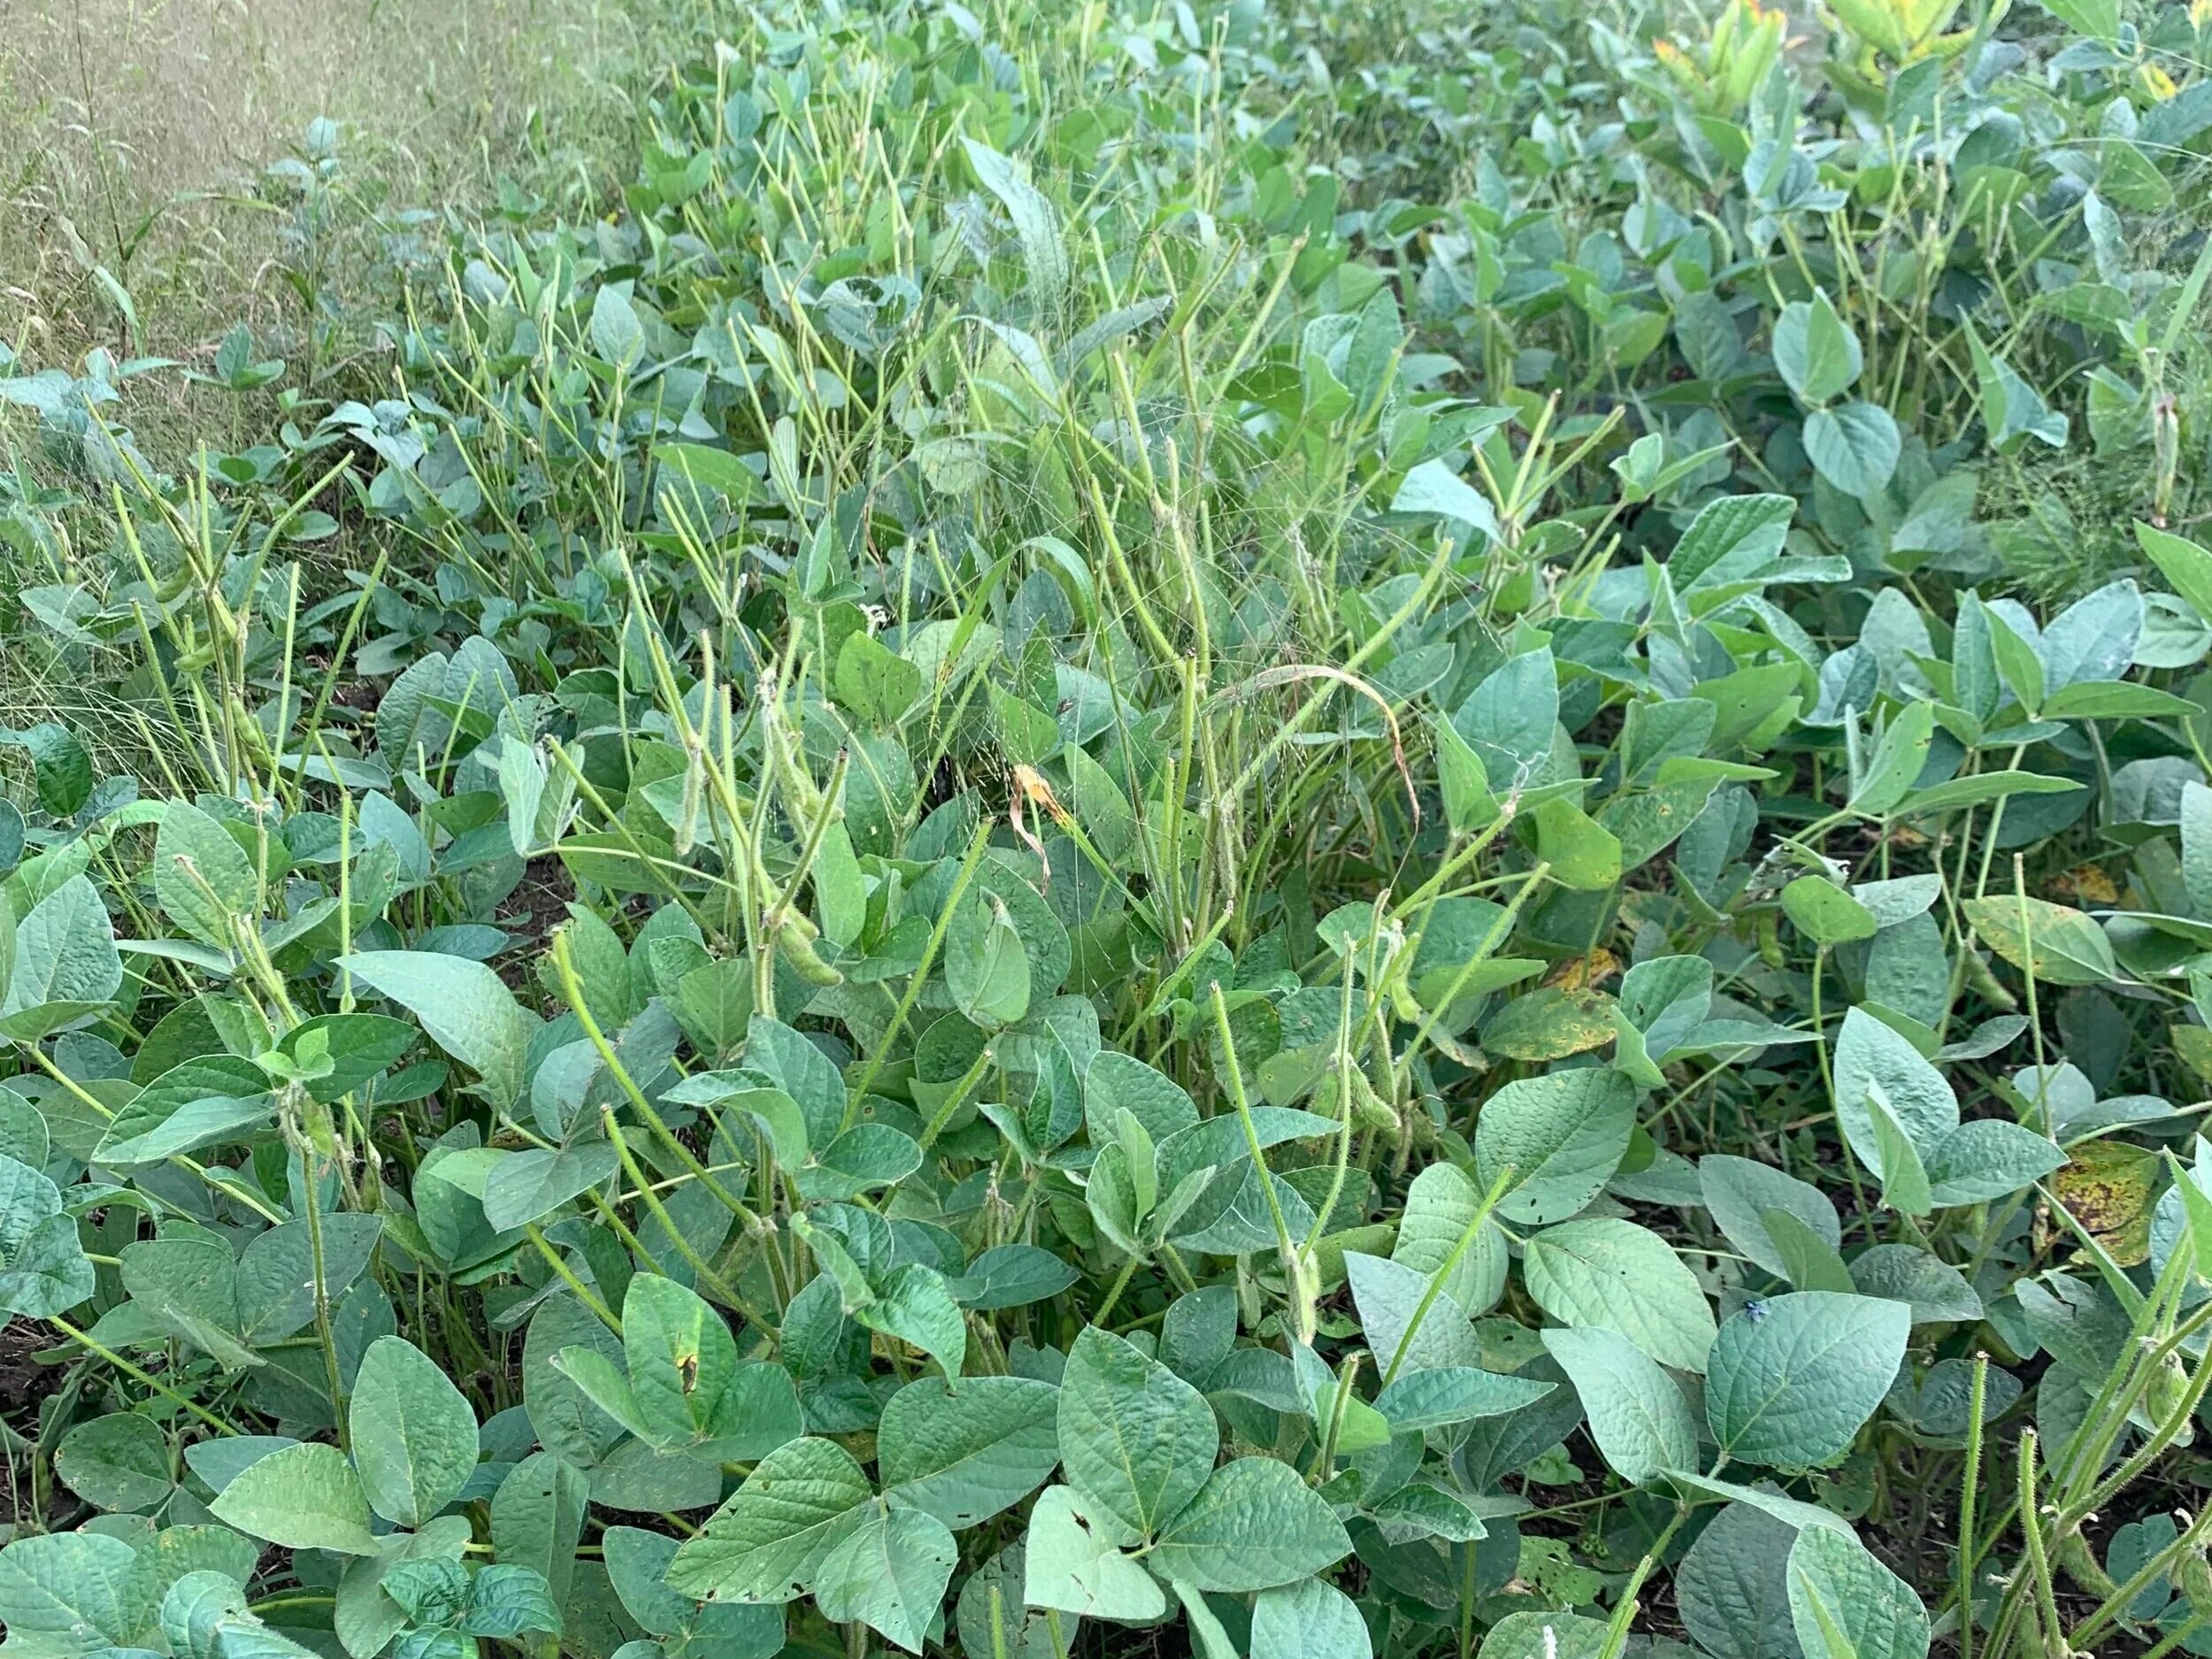
Dual-perimeter fences are not for everyone and should only really be used for a few number of use cases. The leading example would be if you’ve spent money on a specific type of forage and you want to make sure it lasts until a certain point in the hunting season, this is a great way to improve those chances. Typically you’ll see examples of this online using some of the higher end soybeans—either to provide an attractive food plot for the bow season opener or the make sure there are bean pods available when all other green alternatives have gone away or are buried under snow. If this works for you, great! However, I would encourage you to get more out of your money by purchasing cheaper alternatives that provide food for a longer period of time. Trust me, small soybean food plots do not last long!
Wrapping it all up
To prove the legitimacy of this strategy, I’ll leave you with a short videoclip taken from one of my trail cameras showing the effectiveness of a dual-perimeter fence working on my property. Just remember to do as I say, not as I do. This plot failed early with overgrown weeds but the fence was still effective!
Let me know if you have any questions about this strategy in the comments below.